
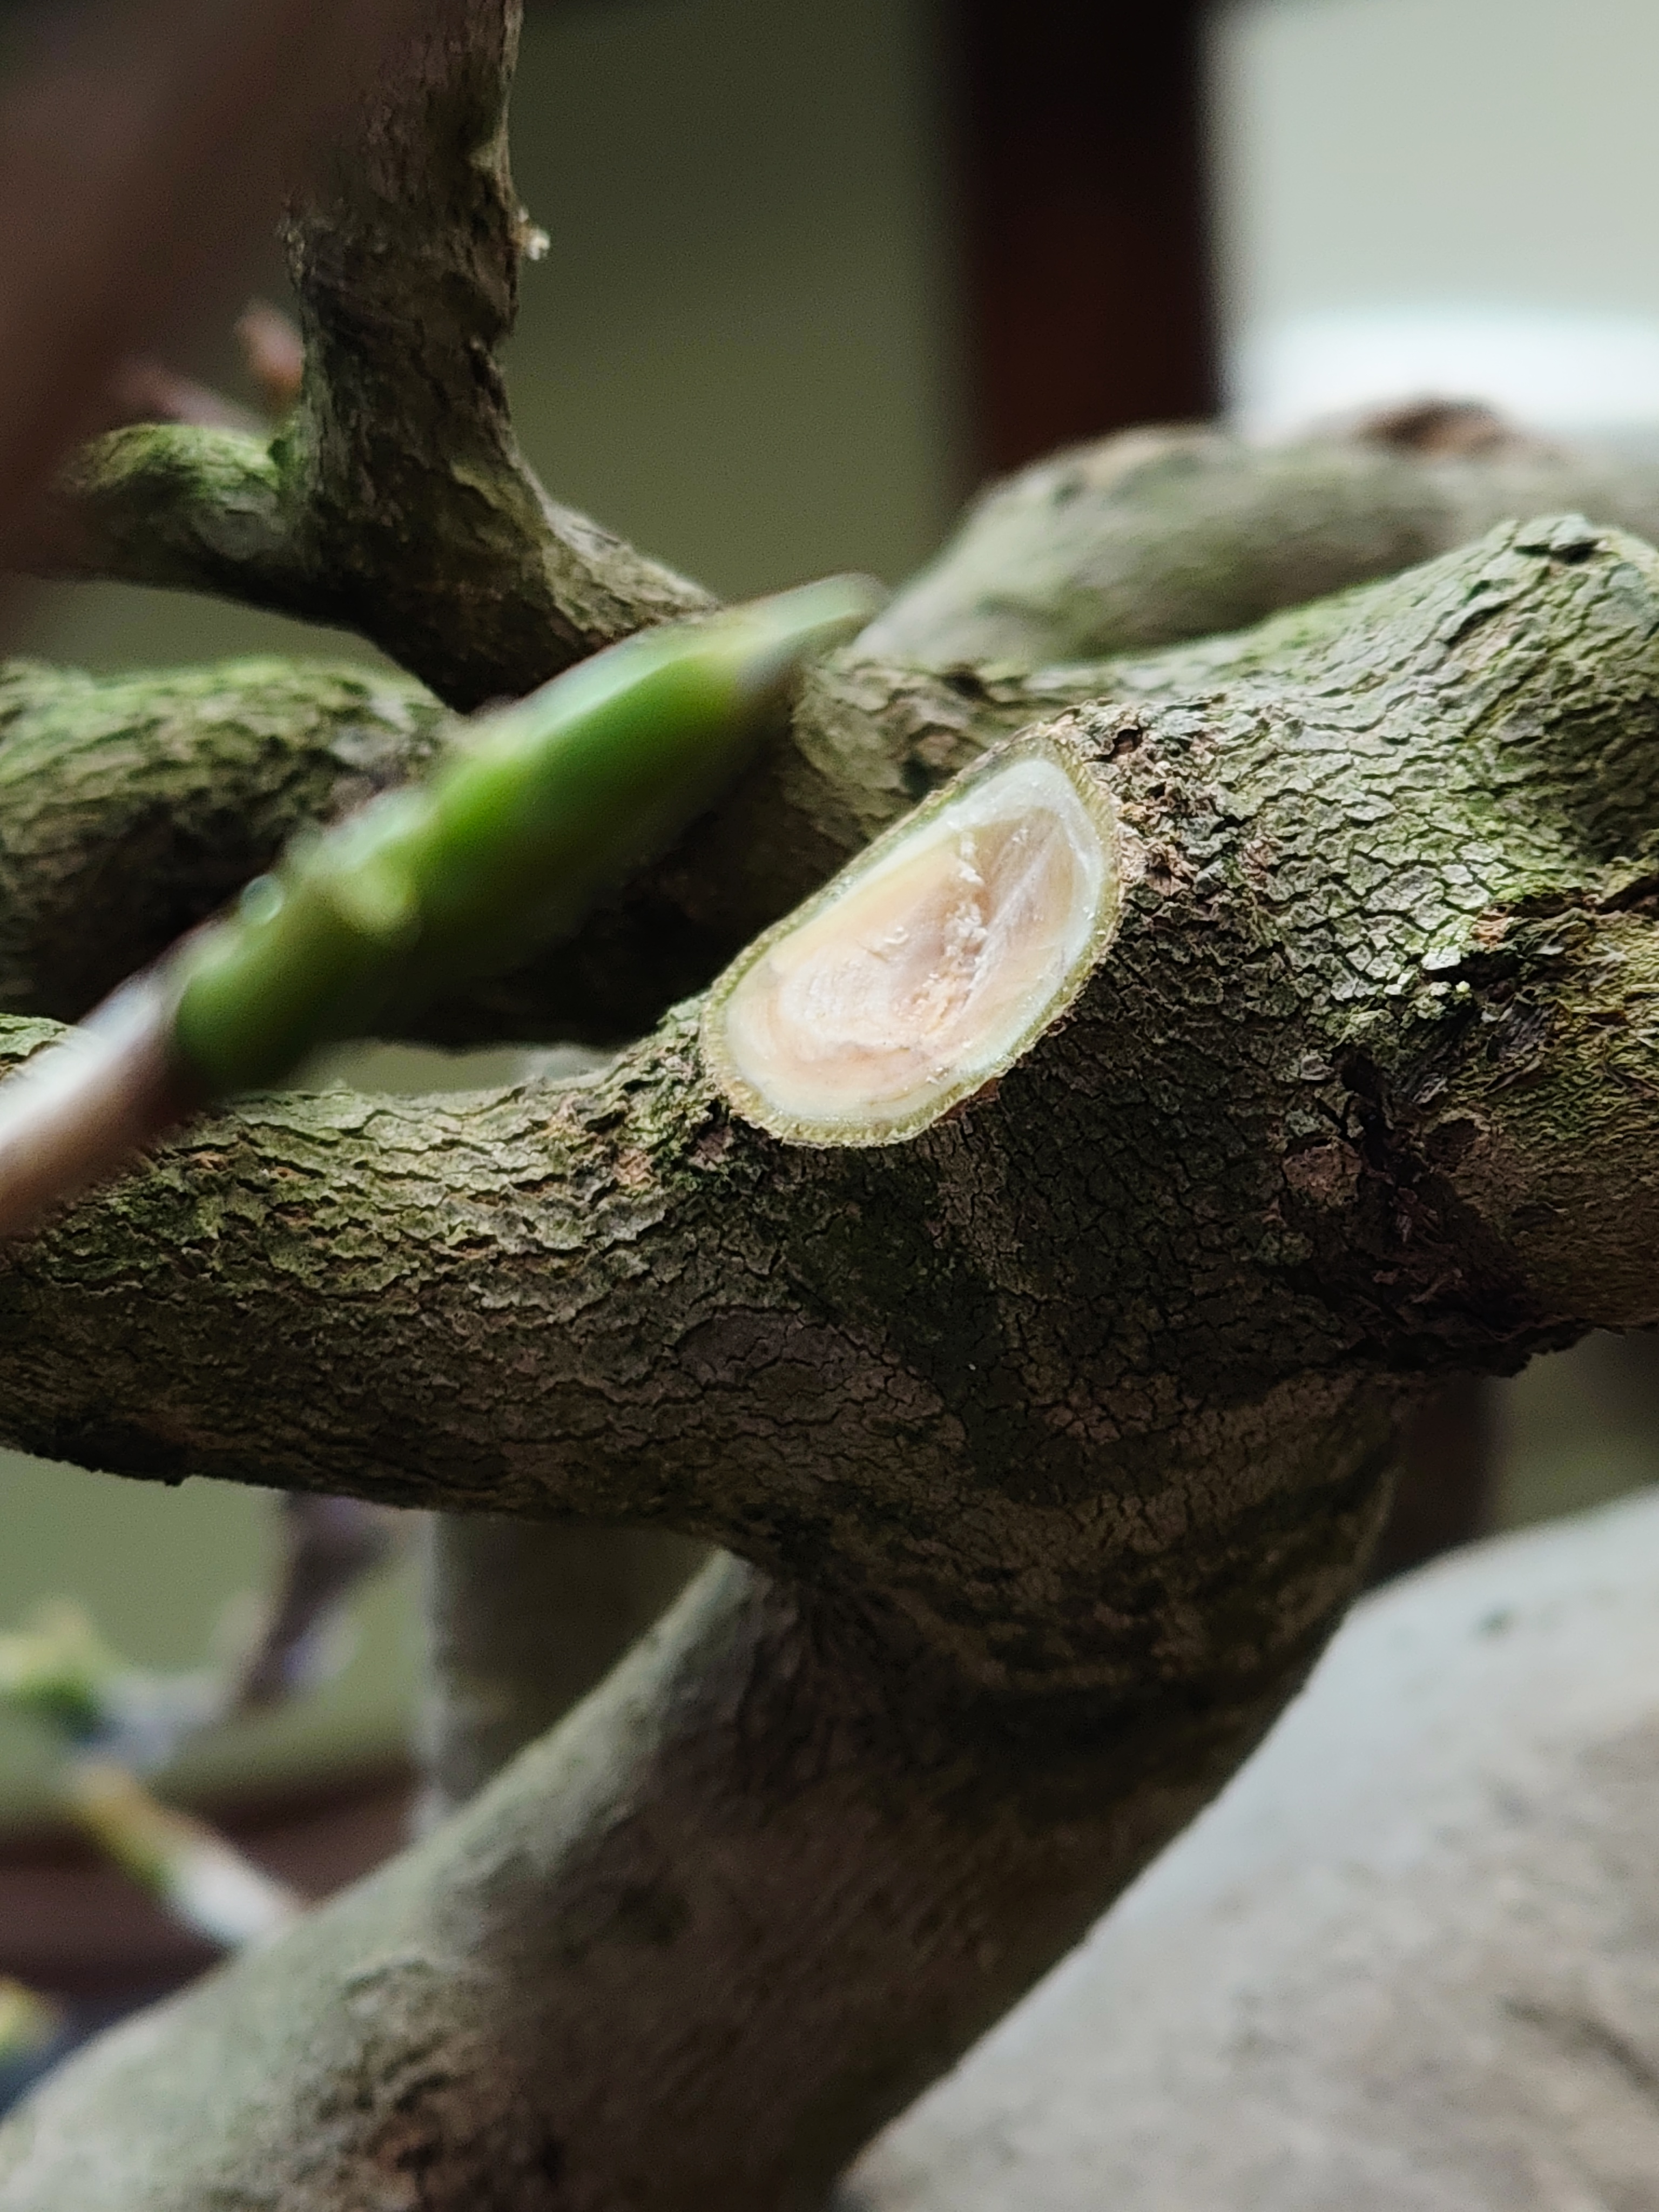
A while ago, as I cleaned up a funky Camellia, I came across a few scars on the trunk and branches that I thought would provide a good examples for how we can cut to help your trees heal wounds effectively. I’m gonna make sure you know what to pay attention to, and how to make cuts where you can predict how they heal. I’ll show a few different species here, but also keep in mind that some species heal better than others.

Most people practicing bonsai quickly learn about concave cutting tools, but are you actually using them to cut deep enough? I’ve seen a lot of videos where the cuts are made quickly and it’s left at a vague explanation. Whether it’s cutting to improve trunk and branch taper or removing unwanted branches, cutting deeply into the removal point will ensure the tissue around the wound rolls over evenly, and quickly with minimal swelling. Everyone wants a tree without scars but the reality is you can’t make quality bonsai without some amount of cutting. So chop chop, let’s make good cuts.
What’s shown here today will be deciduous trees as I usually leave deadwood on conifers beyond developmental cuts.
What you’ll need:
- A tree
- Rounded concave / knob cutters
- Razor blade / pen knife / utility knife / grafting knife (sharp things)
- Rounded hard wood chisels


Examples of healed cuts
Let’s start by showing a few examples of healed cuts and why some may have fared better than others.

Branch A
On this first one you can see a smooth scar with a line through the center. With smaller cuts are done well, the sides almost always roll mostly parallel along length of the branch creating that line. The cambium is reconnected over the wound now. This has healed with almost no swelling which keeps consistent taper from the trunk to the branch tip.

Branch B
Next we have a wound that has failed to roll over entirely. There is still hardwood protruding outward and the cambium had difficulty fully rolling over the remaining hump. In many cases if the cambium can’t reconnect on all sides, the result could be die back towards the trunk side of the cut (towards the roots if it’s on the trunk). You’ll see how I cut this afterwards in the next section.

Branch C
Here is an example where the branch has started to die back from shallow cutting. Even after cutting again and cleaning it up, situations like this might not always be salvageable. If and when it does close up, likely some swelling will remain.
Example cuts
Now we’ve seen good and bad examples, lets look at the process to get it done well.

Here is a cut that wasn’t cut with a concave, but luckily there has been no die back. It has started swelling over the protruding hard wood and needs to be addressed.

I cut the area entirely around what has rolled over so far, and cut deeply with the knob cutters and carving tools to smooth out the inside. Once it’s as even as I can make it, I take a pen knife and carve the very outer edge of the cut so make sure it’s smooth. I cut around to make sure the cambium is visible 360° around the circle. From the side you should see a visible concave, with no protrusions around the edge. Really take a good chunk out of it. Don’t worry if the cut is too large. If it is deep enough, it will heal over better than if a protrusion is left in an attempt to keep the initial cut smaller. Know that wounds swell when closing and you have to account for that tissue gain over the cut site. It takes a bit practice and understanding the species you are working with. For this one, you can see even after the cut is complete, there is some dead tissue inside, if we can heal this quickly it will unlikely ever be an issue.
The idea is that with a deep concave cut, the cambium simply falls into the depression instead of having to climb over the wound.

Lastly, pack the wound with cut paste. I try to keep this as thin as possible, covering the entirety of the exposed wound to keep out any contaminants. Whatever you have available is likely fine, but I do find the Japanese KattoPasuta カットパスタ to do a great job for any wounds, especially anything larger than your pinky nail. There are two varieties of this paste for Conifers/Satsuki, and also Zouki (every other species), but I use the conifer type for most every cut. If it ain’t broke don’t fix it.

Here is the same cut partially healed three months later, closing relatively smoothly. Once a cut starts healing, you’ll soon see a crease around the edge of the cut paste, this can indicate how far it has closed since it began healing.

This is how I re-cut that scar on Branch B. Including side profile to show depth.

Larger Cuts
Below I’ll show how I handle large cuts. The idea is the same, but often with dead or dying branches you can encounter a variety of issues.
In April 2026, We had some withering branches on our weeping Sakura. Once I cut the larger one, I discovered the core was rotting and channeled it out as deep as I could.

The hole was filled completely with quick dry cement, pressing to form, maintaining the concave shape of the cut. The cement should prevent any further rotting and give a solid base for the cambium to seal over. Once the wound heals, moisture can no longer ingress so it’s important to heal quickly.

Cut paste on the smaller wound; cut paste and aluminum cloth tape over the larger wound. More on this shortly.

Almost healed entirely by August 2026. Since we cut both of these deeply, they heal over nice and flat. Many varieties of Prunus heal wounds very well.

If the cut is large enough there’s a few extra considerations to make. Larger cuts won’t always heal in a single year. If that’s the case then it may be necessary to go back in and address the wound if required.
Existing wounds healing slowly
Here’s a 2 inch/6cm wound on a Styrax Japonica which has been healing for over 2 years now, from a dead branch. As long as we continue to protect this wound we should be able to keep the inside from rotting and allow the cut to heal. This cut was originally demonstrated on Bonsai U.

The edge of the healed area is cut with a blade to encourage it to continue closing. This is the 2nd time this has been done.

Once again the entire wound is covered with cut paste.

Lastly with larger wounds, we have been testing the aluminum cloth tape and it seems to do a good job keep water and bugs out which can lead to rotting of the core.

It’s become popular to cover larger cuts above an inch or more with the aluminum cloth tape. I couldn’t tell you the mechanism, some say keeping light off of it prevents swelling, I personally think it keeps humidity under the tape. In my experience, I’d say it it is noticeably more effective than just cut paste alone; it does have to be reapplied multiple times. I don’t think it’s the end of the world if you don’t have it. Mostly I think it just adds an extra layer of protection to keep out problems

As a bonus, here is that awkward shaped cut from Branch C earlier starting to heal. Apologies I didn’t take photos of it when I cleaned it up originally. I thought we’d just chop the whole branch. Judging by the crease on the cut paste, it’s beginning to close up.

The same concept applies to cutting roots as well.
Here is a side profile of a cut i did to remove stray roots off of an root over rock maple I have grown from seed. The root which was cut was not attached to the rock. This was done April 1st.

Here it is in already healed by August. Because the added tissue fills the concave, the curve and taper of the root is preserved.
It should go without saying that even more scenarios may exist, and every cut really poses a different challenge. If you’re ever working with uncertainty, please feel free to message me on any of my platforms or fire me an email at bonsaiharmonyca@gmail.com to arrange a consultation.
I’m going to be regular, and likely more casual with posting on here and Youtube, so be sure to subscribe.